Context
Most people working in offensive security, or anyone who regularly spends time in Hack The Box or HackSmarter labs, are probably already familiar with ligolo-ng. It was a genuine game changer for pivoting and tunneling during internal assessments and quickly became a go-to tool for many operators.
Ligolo-MP builds directly on that foundation. While it isn’t entirely new (it’s based on ligolo-ng), it introduces a multiplayer-capable architecture and, more importantly in my opinion, a much cleaner and more intuitive user interface. I haven’t fully explored the multiplayer functionality yet, but purely from a usability perspective, ligolo-mp feels like a meaningful improvement and is extremely operator-friendly.
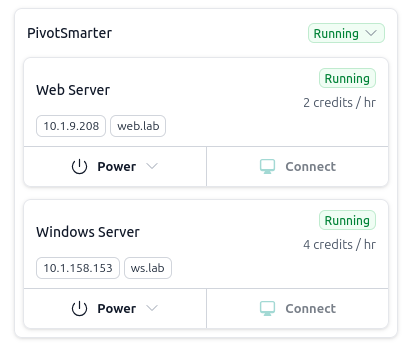
To demonstrate the tool in a realistic scenario, I’ll be using it while completing the Pivot Smarter lab from HackSmarter:
Setup
Before diving into the lab, let’s walk through installing ligolo-mp locally.
Start by navigating to the GitHub repository maintained by ttpreport, cloning the project, and installing the binaries:
https://github.com/ttpreport/ligolo-mp
| |
Once installed, you can start the Ligolo-MP server with:
| |
By default, Ligolo-MP starts a server on port 58008 and listens for agents on port 11601. In some lab environments, I’ve noticed that the default agent port isn’t always reachable. When that happens, it’s easy to override the listening configuration.
To change the port used by agents, use the -agent-addr flag:
| |
If you want operators to connect on a different port, you can also specify that using -operator-addr:
| |
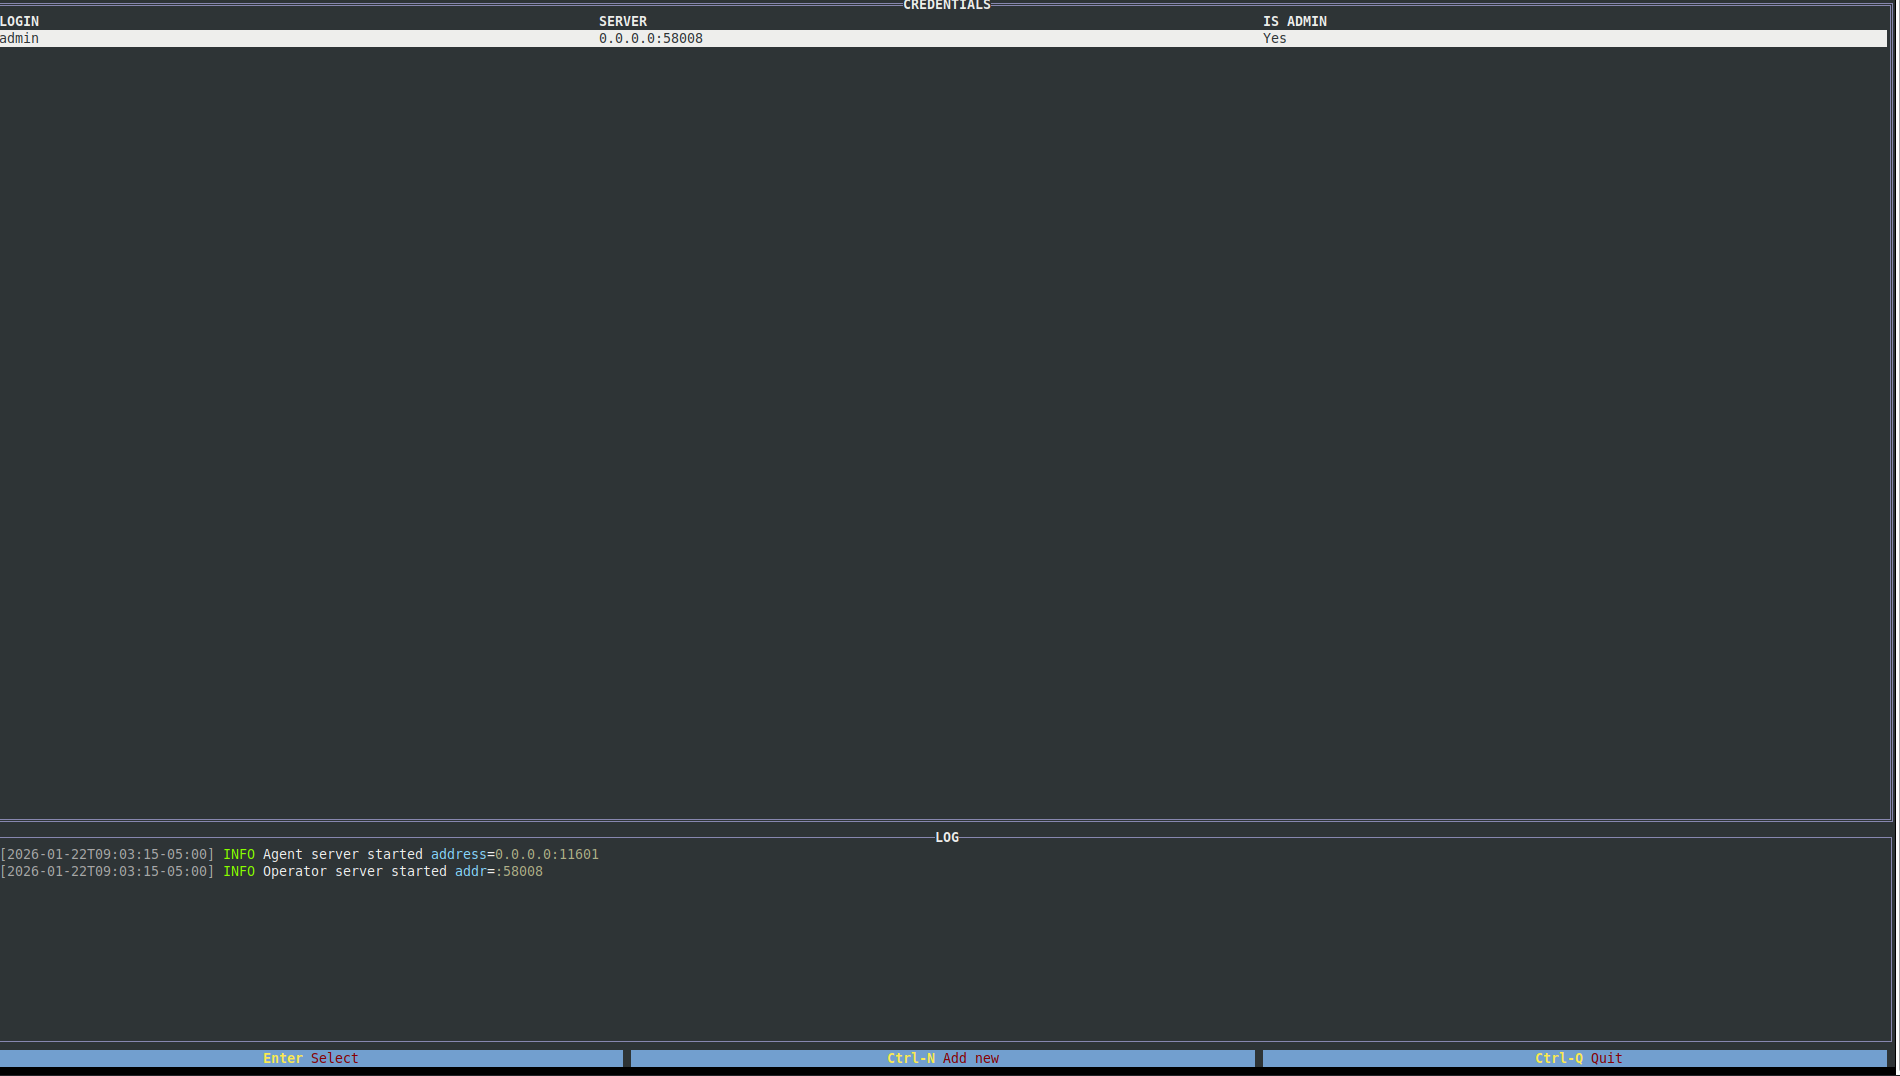
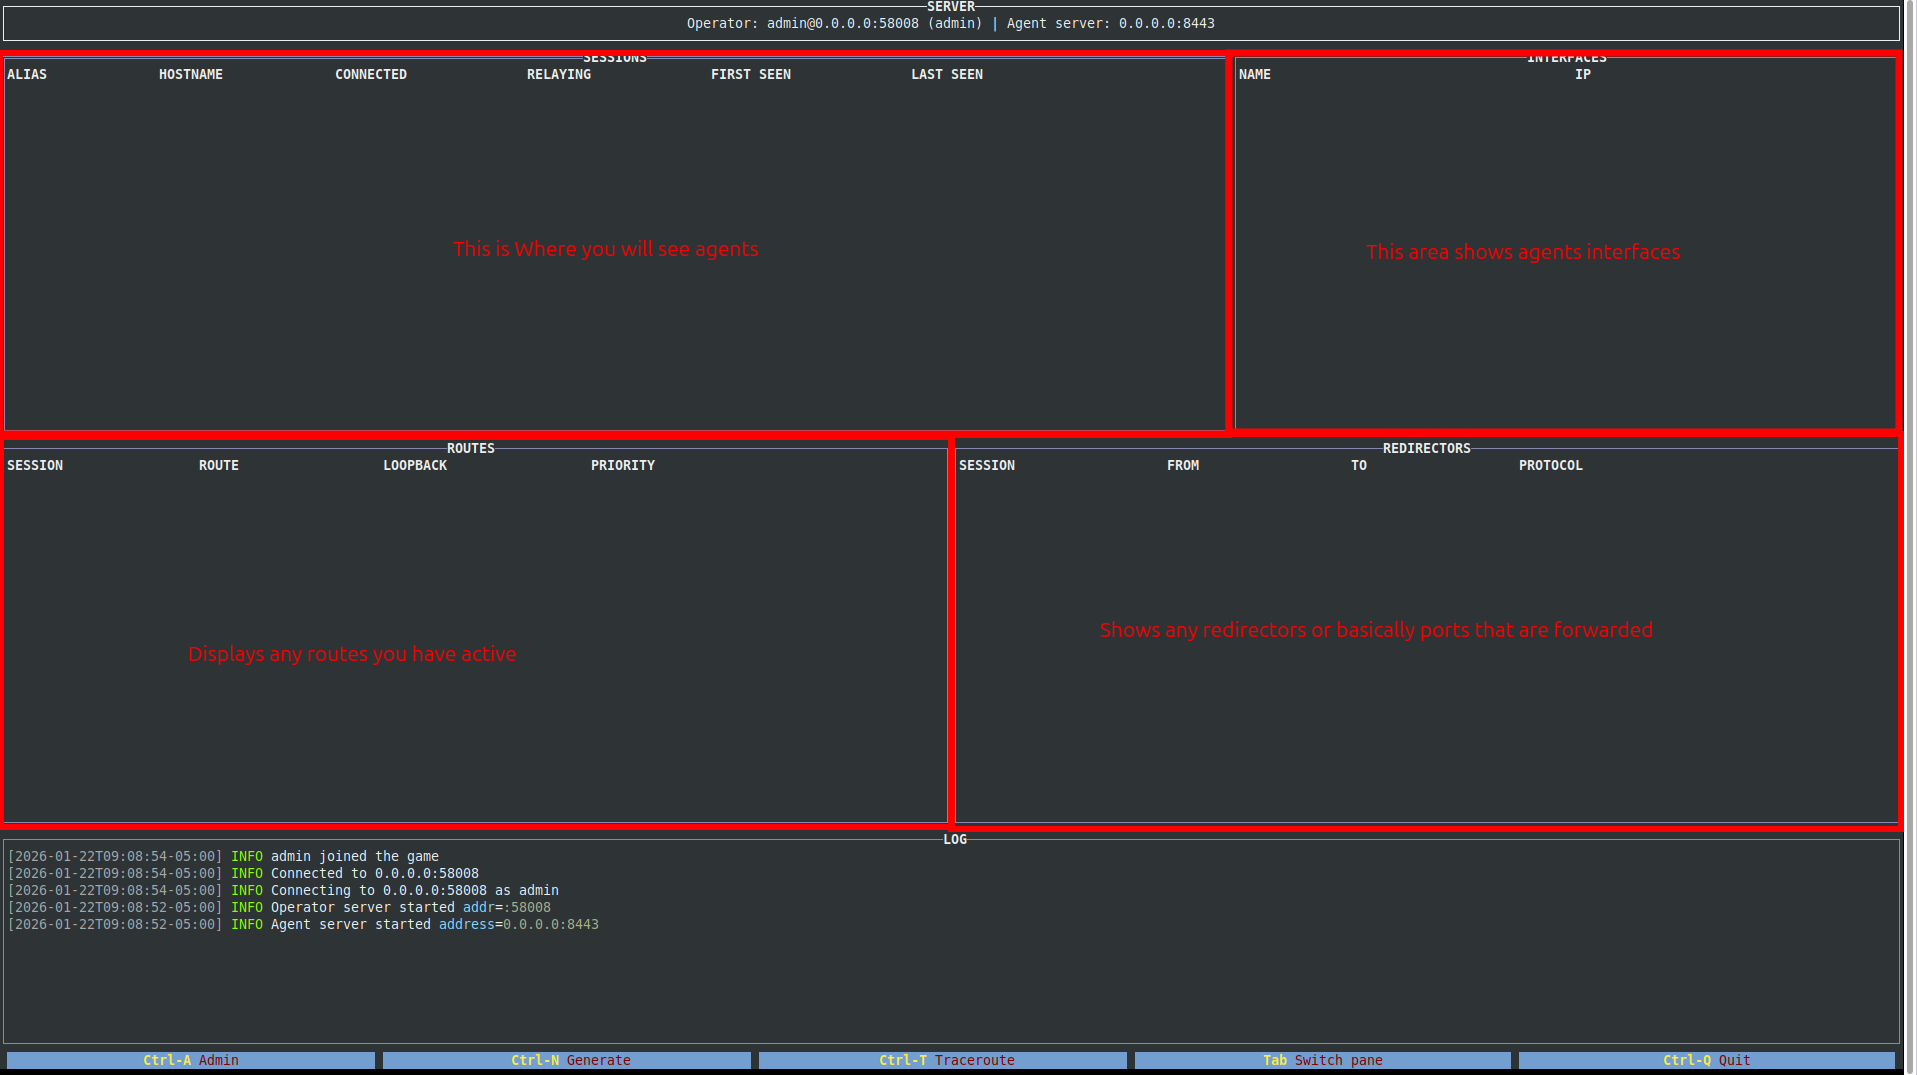
With the default settings, simply press Enter at the prompt to connect as an operator. Once connected, you’ll notice the interface is broken into a few key sections:
- Sessions – Displays active agent connections and their status.
- Interfaces – Shows network interface and subnet information for each host.
- Routes – Lists routes to internal subnets you’ve configured.
- Redirectors – Displays any active port forwards.
Usage / Walkthrough
Rather than explaining Ligolo-MP in the abstract, we’ll walk through a real demonstration using the Pivot Smarter lab.
For this walkthrough, I’ll start the server using a custom agent port:
| |
First, let’s take a look at the environment and host connectivity:
Objective
| |
Windows Server Credentials
| |
Web Server Credentials
| |
In short, we’ll use our access to the Windows server as a pivot point to reach the internal web server.
First, let’s confirm access to the Windows server via WinRM:
| |
| |
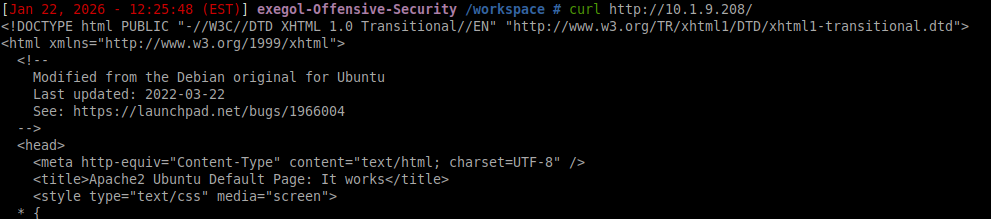
For sanity, let’s verify that our attack machine cannot directly reach the web server:
| |
As expected, the request hangs.
Next, we connect to the Windows server using evil-winrm:
| |
From within the session:
| |
| |
This confirms that the Windows server can reach the internal web server. Our goal now is to proxy that access back to our attack machine using Ligolo-MP.
Pivoting with Ligolo-MP
Agent Setup
From the Ligolo-MP UI, generate a new agent by pressing Ctrl+N. You’ll be prompted to fill in several fields (use Tab to move between them). For this walkthrough, the key fields are:
- Save To – Where the agent binary will be saved.
- Servers – The IP and port of your attack host (in this case, port
8443). - OS – Windows.
- Arch – The architecture of the target host.
Example configuration:

Press Enter to generate the agent.
Deployment
Deployment is straightforward. Since we’re already connected via evil-winrm, we can simply upload the binary:
| |
| |
Run the agent:
| |
The agent will immediately connect back to the Ligolo-MP server, but it won’t be active yet. We still need to configure routes and start the proxy.
Route Configuration
In the Ligolo-MP UI, highlight the agent under Sessions and press Enter. Select Add Route.
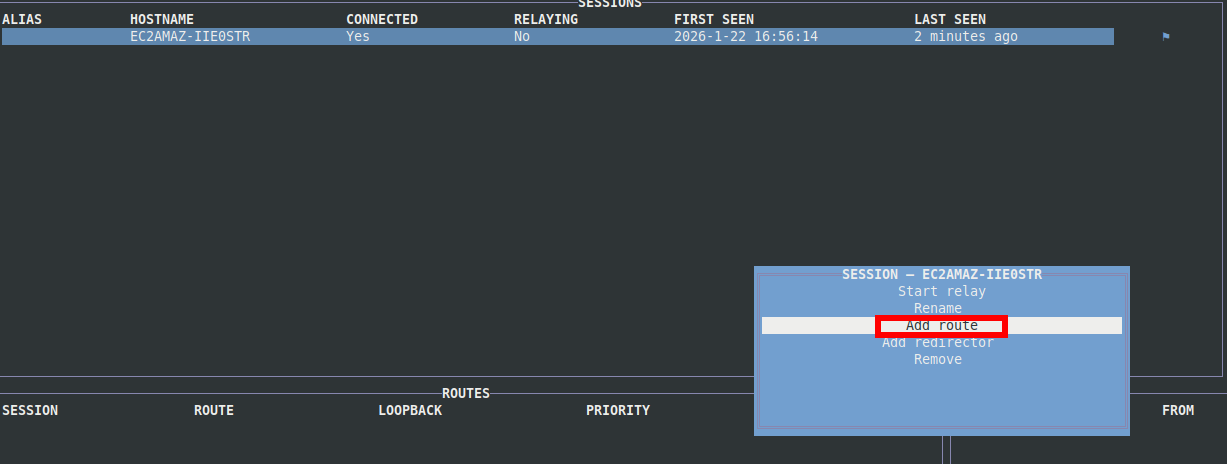
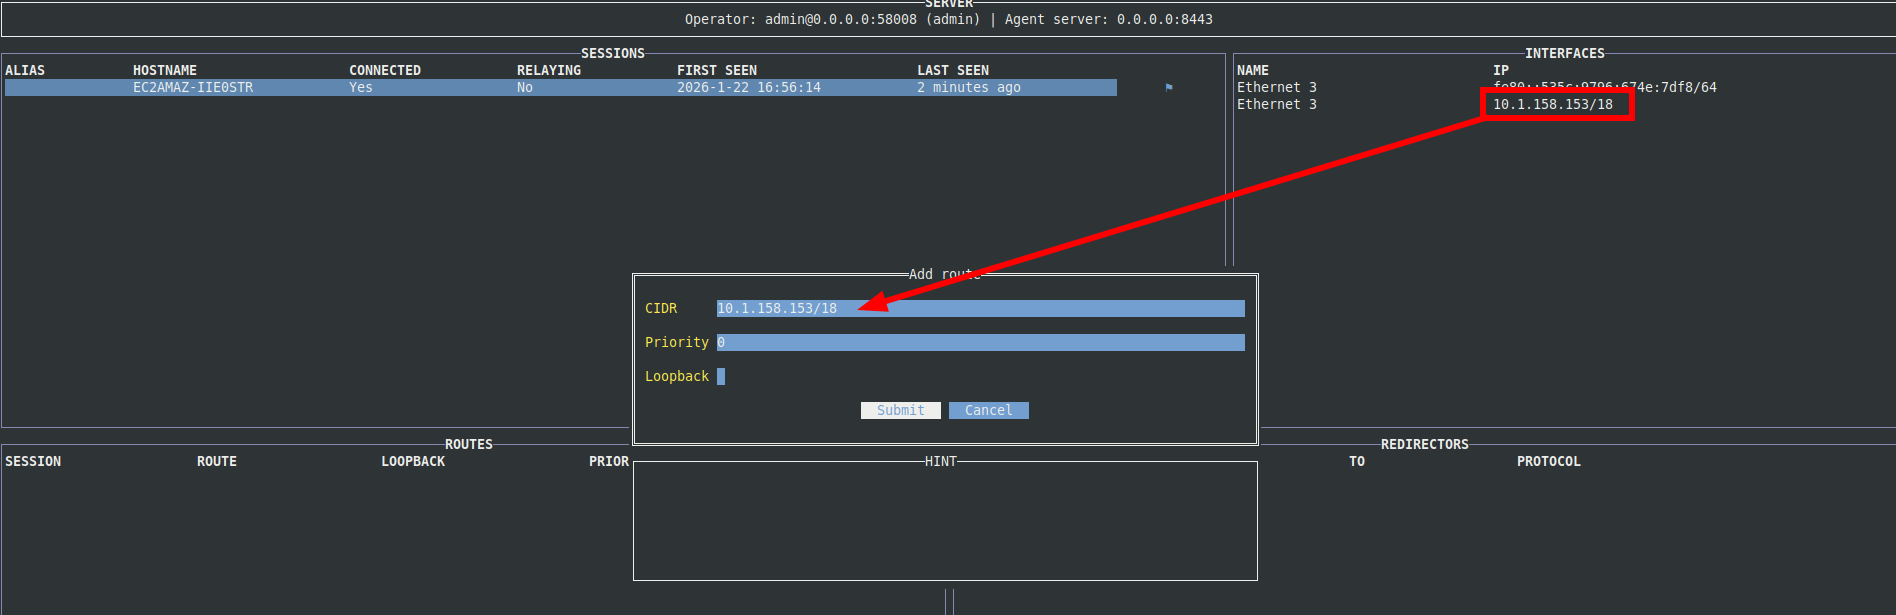
When prompted for a CIDR, you can typically start with the subnet listed under the Interfaces tab. Leave the priority at 0 and submit:
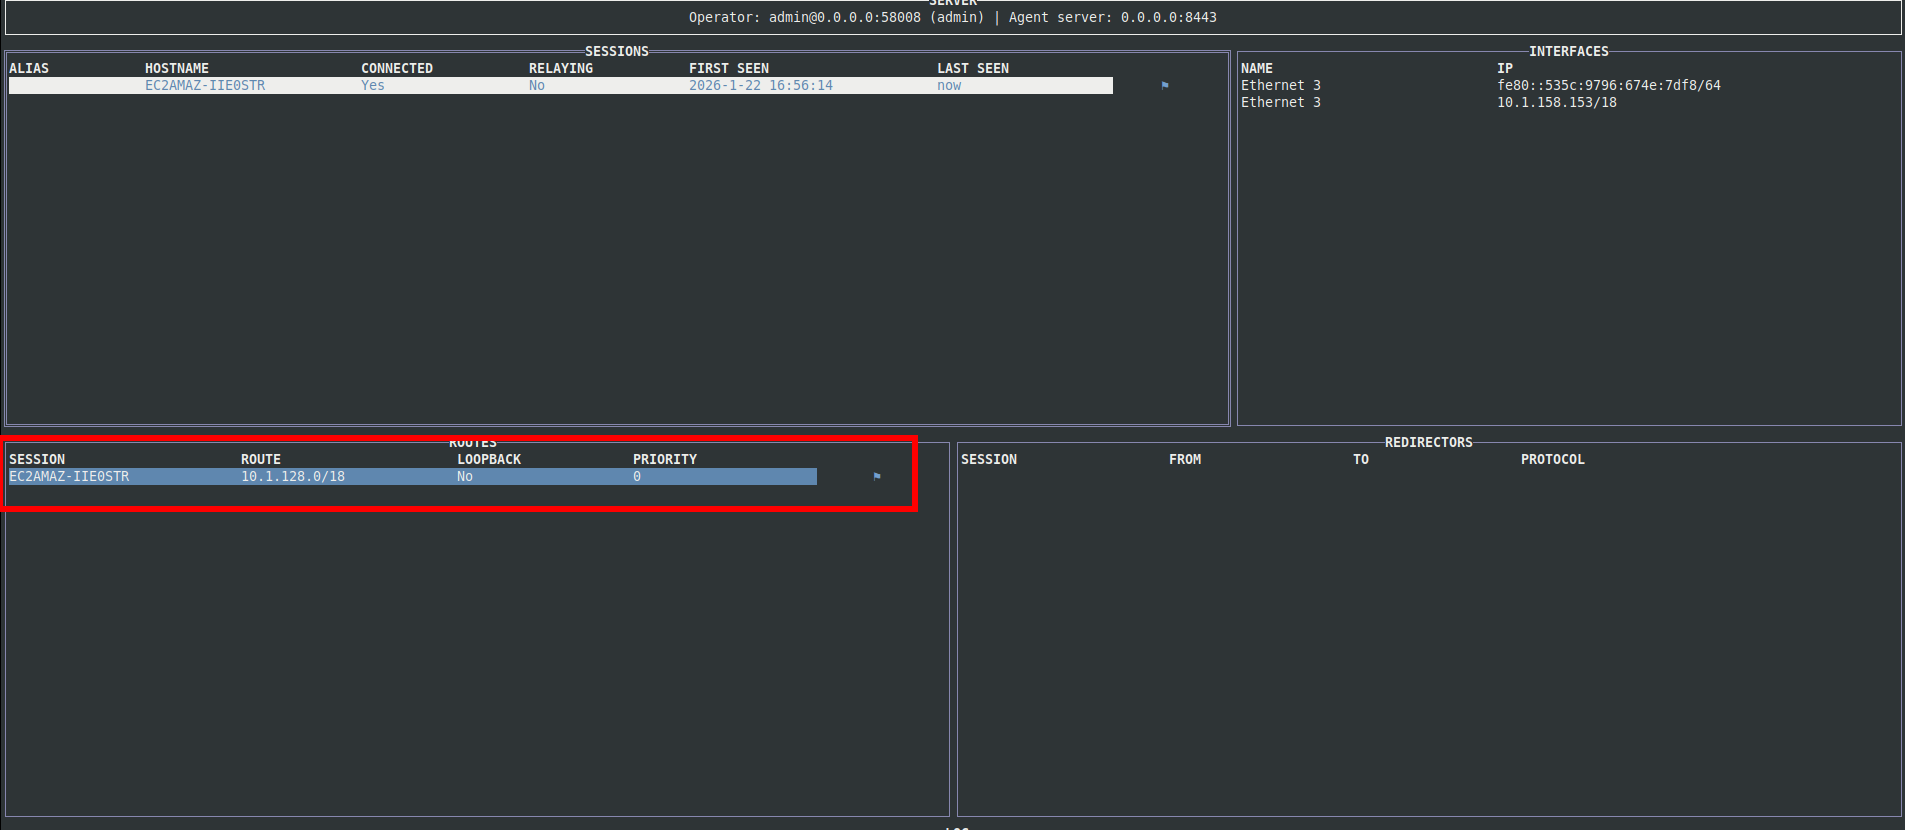
Once added, the route will appear in the UI:
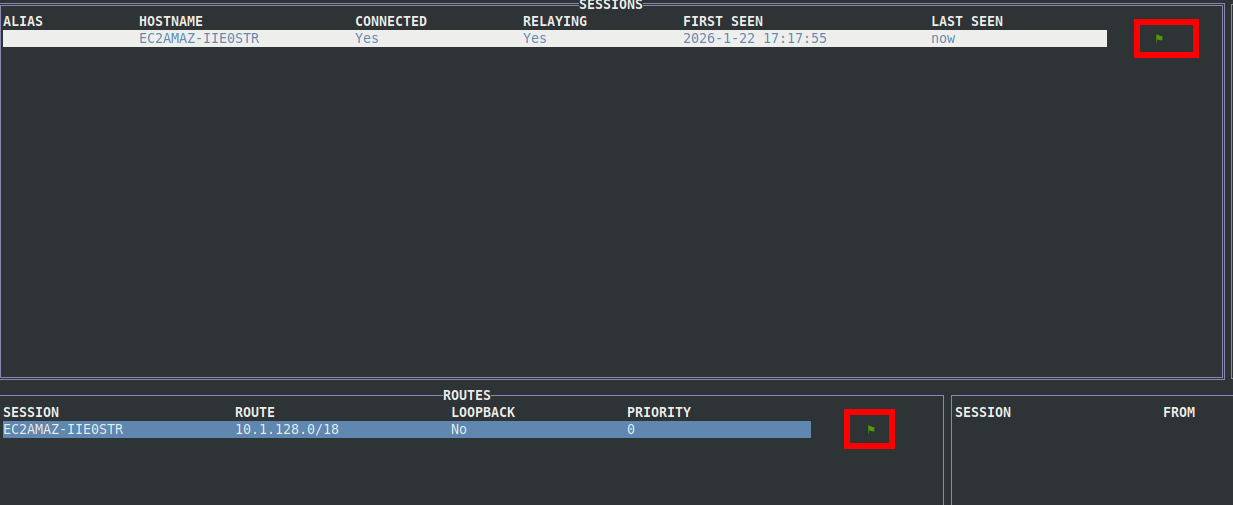
Now select Start Proxy. If everything is configured correctly, you should see green indicators showing an active connection:
Lateral Movement
Back on the attack machine, try accessing the web server again:
| |
It still fails and this is intentional. While we routed through the compromised host’s subnet, we didn’t explicitly route traffic to the web server itself.
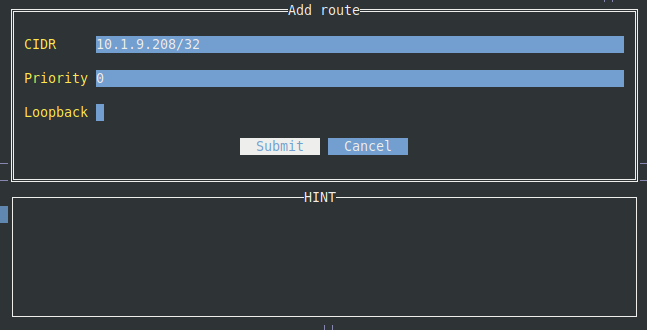
To fix this, add another route using a /32 CIDR for the web server’s IP address:
Test again:
| |
Success:
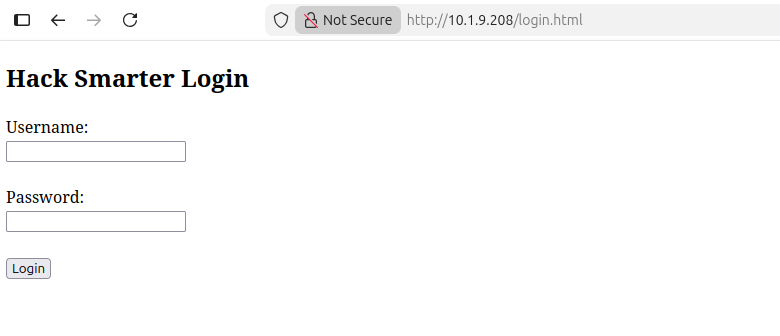
From here, a quick directory brute-force reveals a login page:
| |
| |
Navigate to login.html, authenticate using the provided credentials, and retrieve the flag:
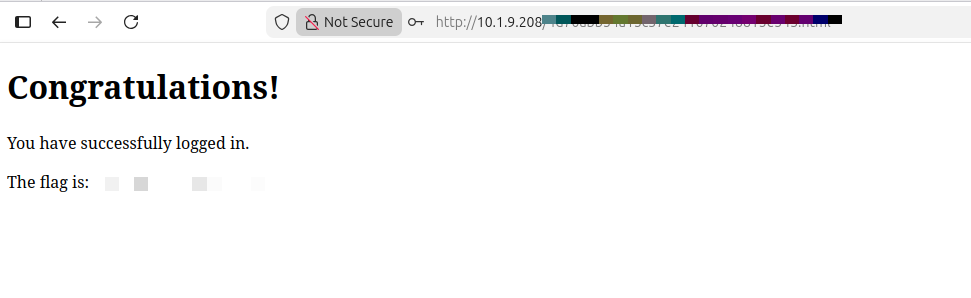
At this point, the pivot is complete and the objective is satisfied.